
Are you always cleaning and processing your audio files and projects on Audacity that it gets repetitive and exhausting when selecting Effects such as Compressor, Filter Curve, and Normalize to get the perfect sound quality for your voice? There’s a really easy way on how to quickly add commands or effects onto your audio projects in Audacity.
What’s Audacity?
In this paragraph, we will discuss what the application is all about. This application is a freeware developed by volunteers that is readily available to be downloaded on their website. It is an easy-to-use audio editor and recorder that can be installed on Windows, macOS, and other operating systems.
![]()
This is a software commonly used by vloggers, voice actors, people who make podcasts, and even singers as using the application is fairly friendly.
What’s the new and easy shortcut to quickly adding effects or editing multiple files in Audacity?
Say, you finished 20 recordings for a voice-over job and you haven’t started cleaning and processing the audio files yet while your deadline is in about 10 minutes and you can’t possibly clean and put effects on all 20 of them one by one.
What if I told you there was trick to make your life easier in editing multiple audio files in just 2 easy steps!
1. Managing Macros
Firstly, assuming that you have already opened the application and your audio files are all recorded, head over to Tools > Macros…

2. Inserting Commands
Here you can go and press New and name your Macro. For this tutorial, we will be using Sample. Select your Macro and now we will go ahead and Insert commands. You can choose commands/effects that you will need for your audio recordings.


You can also modify some of the commands/effects by editing the parameters.

Once you’ve inserted all the commands you need, all you have to do now is to apply them to your project!
3. Applying Macros
Head back to Tools>Apply Macro>(Name of your Macro) and that will automatically process your audio project.
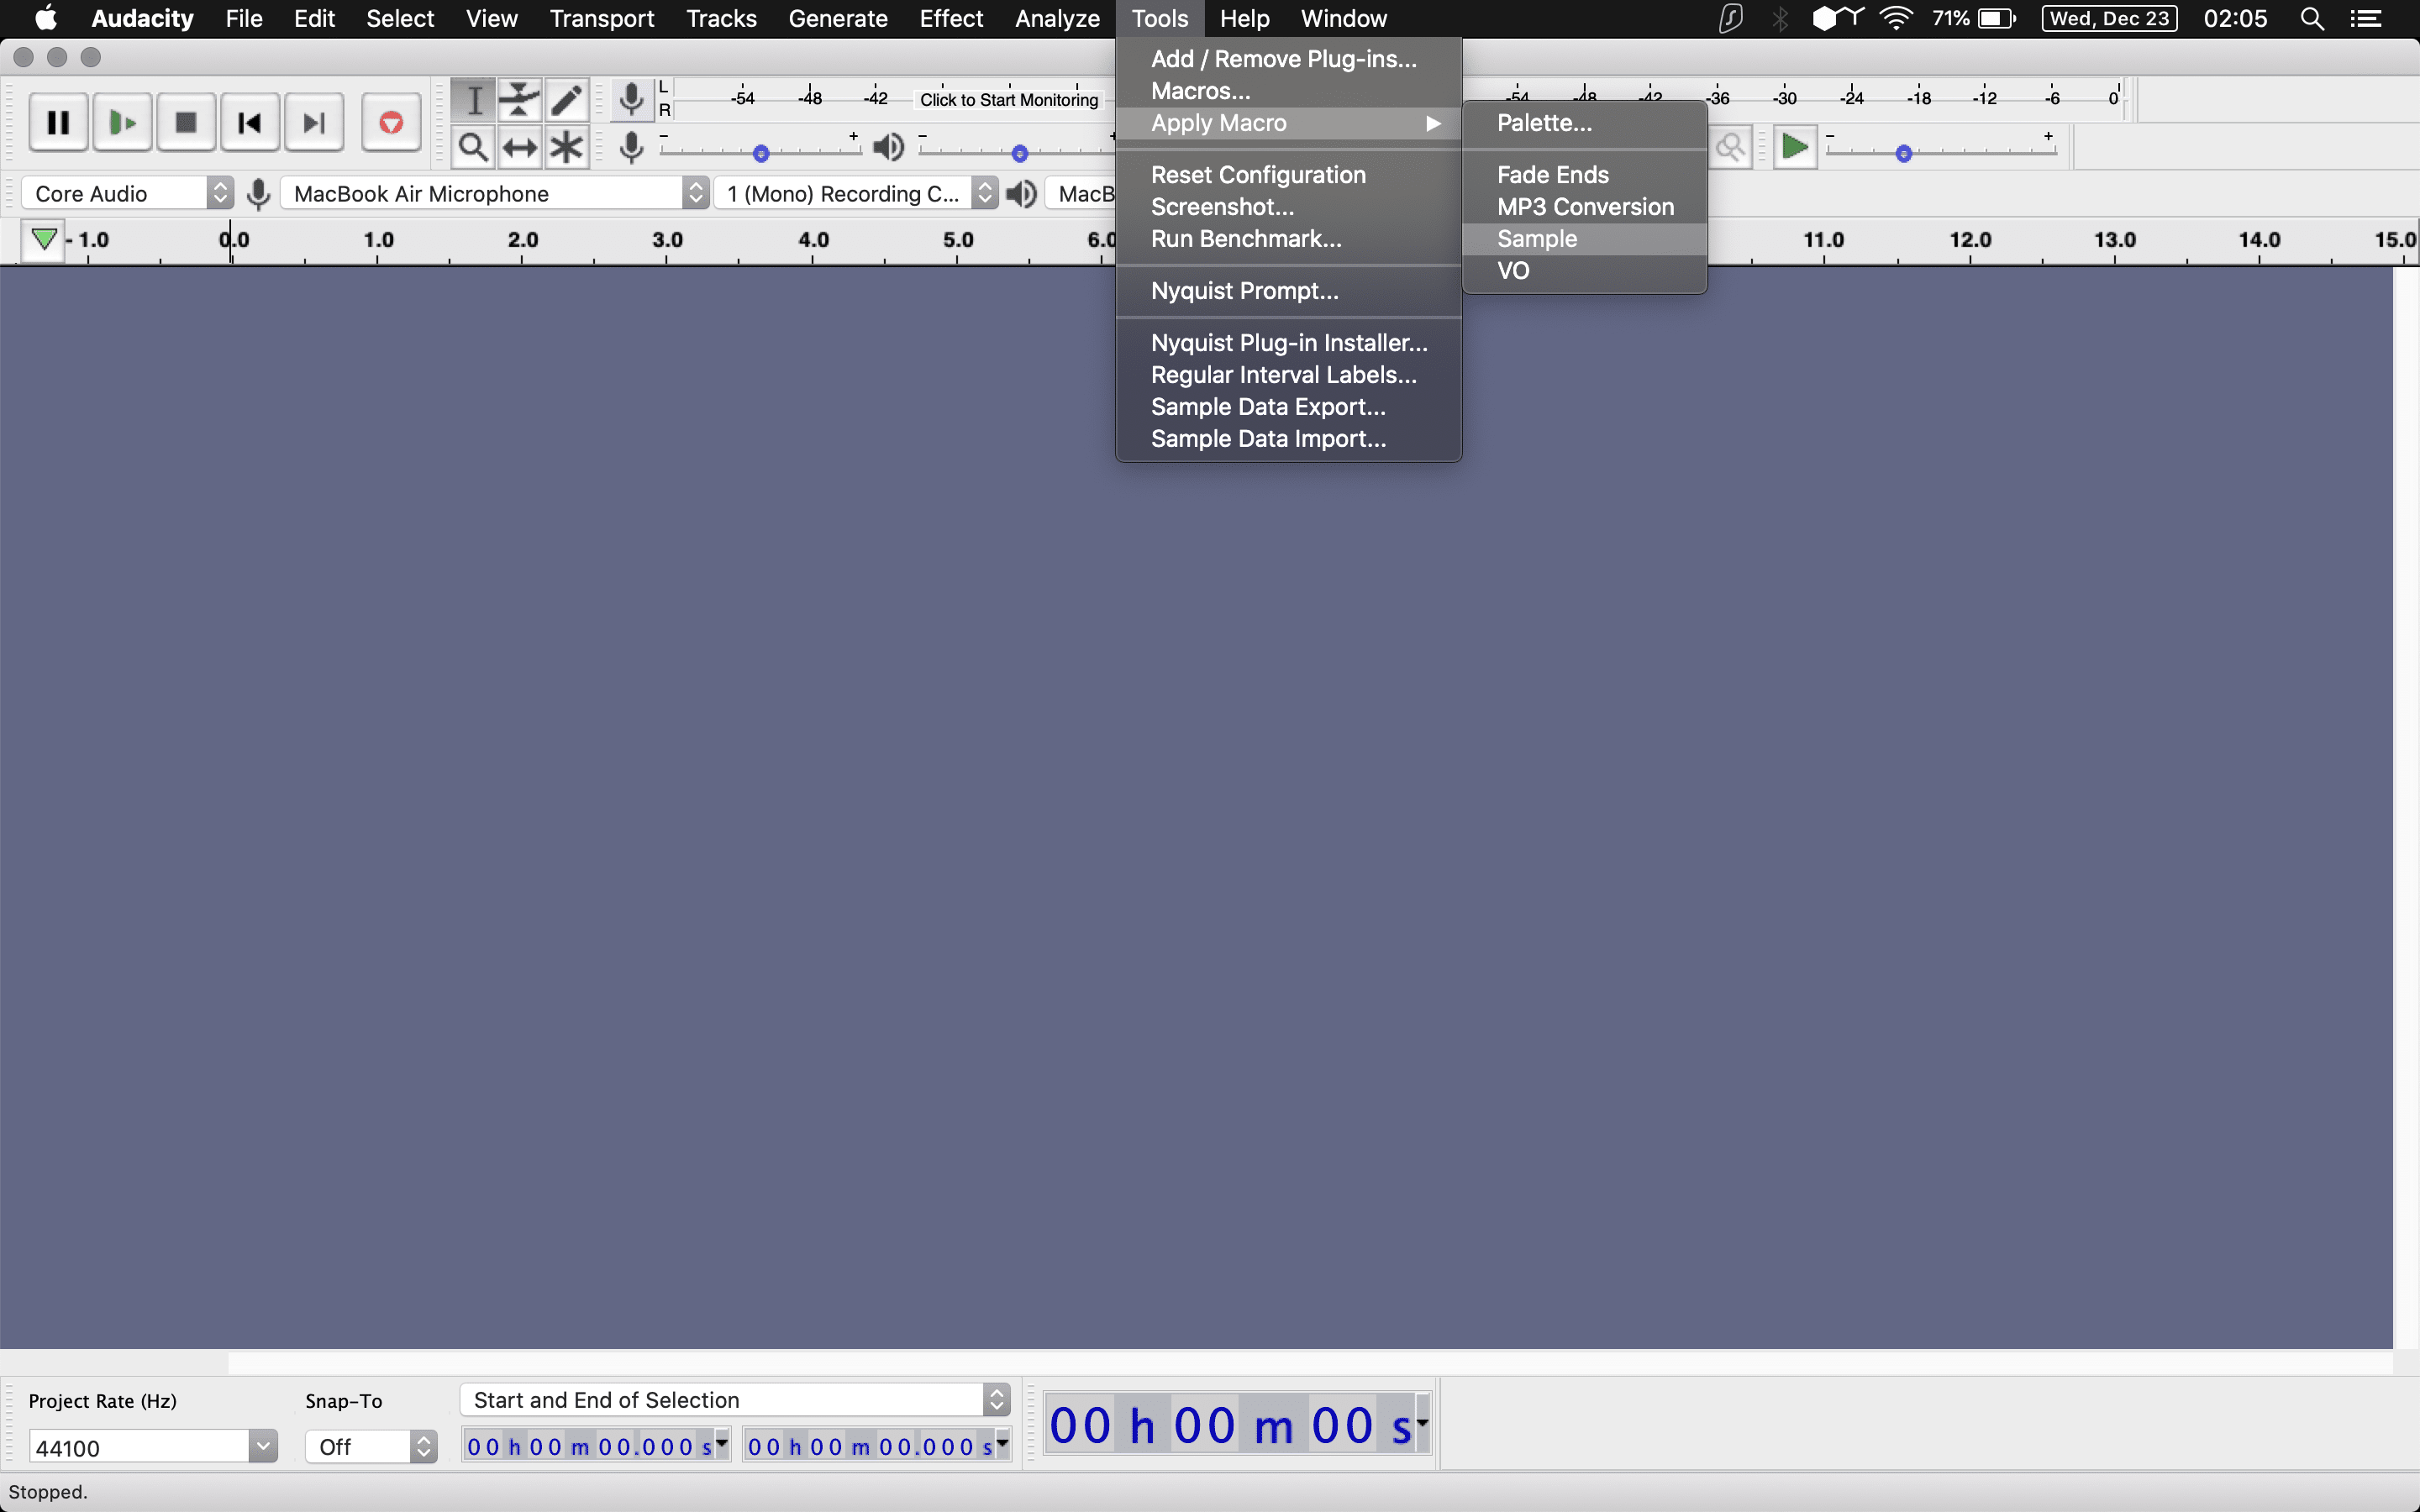
4. You’re Done!
Finally, now you can create different Macros with different commands that is well-suited for your recordings and even use this trick to adding it to specific files at the same time or audio projects by just going back to Tools>Macros and you will see at the bottom of the window Apply Macro to: Project/Files…
The old way of doing the trick
In older versions of Audacity, you may have been doing this trick through Chains. In case your version is still the old one, I’ll tell you how to do it quickly.
Head over to File > Edit Chains to set up a batch command of effects you want to use on your audio files.
When you’re done with that, head over to File > Apply Chains and that will automatically apply to your audio file or the project.
You need to be a part of a contest for one of the best blogs on the net. I will highly recommend this blog!